Weekend 27/28 August 2016
During the week Peter hung the little vanity and connected it to the plumbing
This weekend he worked on the electric side.
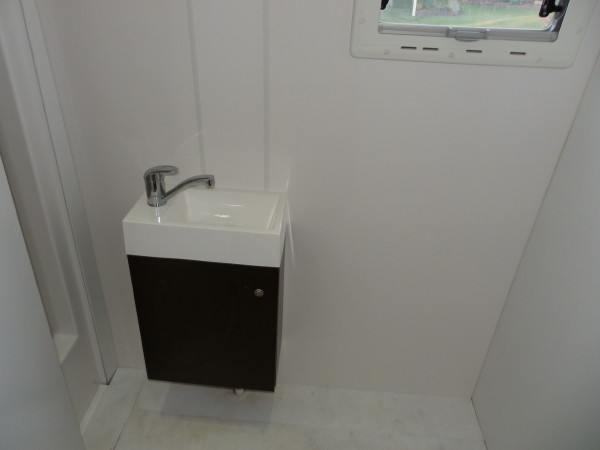
First the vanity. All ready to go.
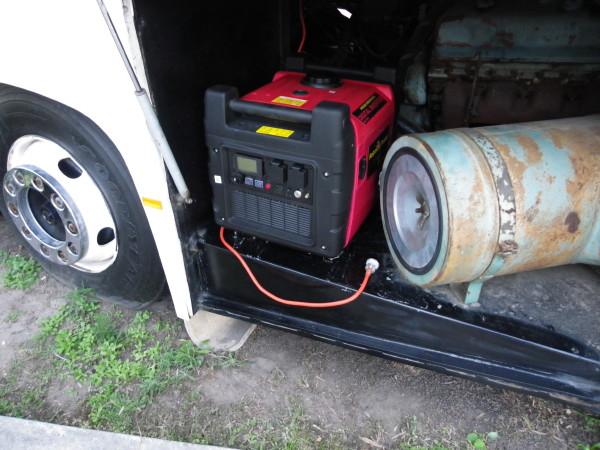
The inverter generator is in and an extension cord run to the kitchen.
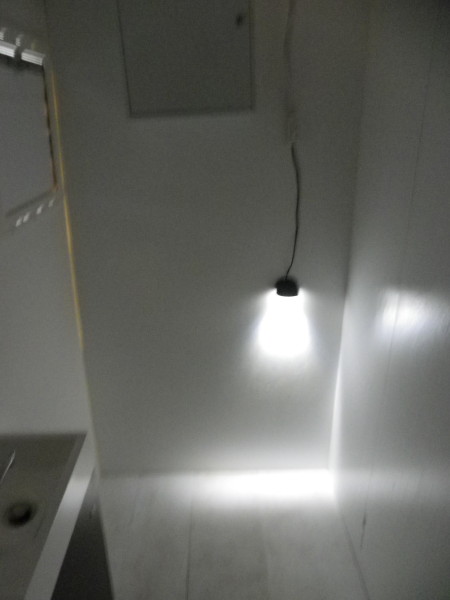
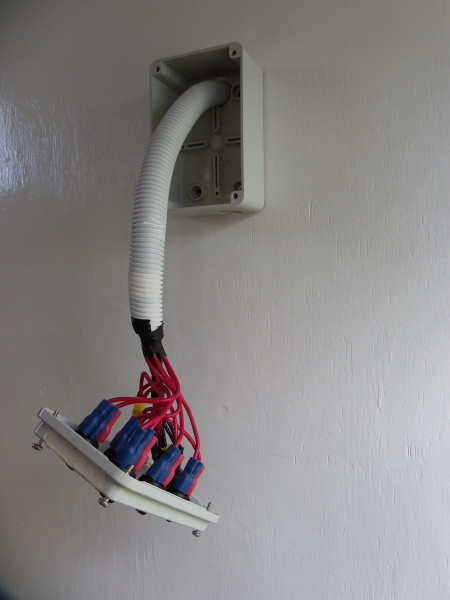
The lights are connected to the switches. This little light is the night light. It is only 0.5W LED so can be left on all night long for the kids.
He also connected the water pump through a switch just inside the kitchen cupboard.
Saturday 20 August 2016
The last two weekends Peter worked on the plumbing
The previous Saturday we had help from Ken who is a plumber. Thanks Ken for all your help.
Ken connected the waste water. One pipe is the sink and basin. The other is the shower waste.
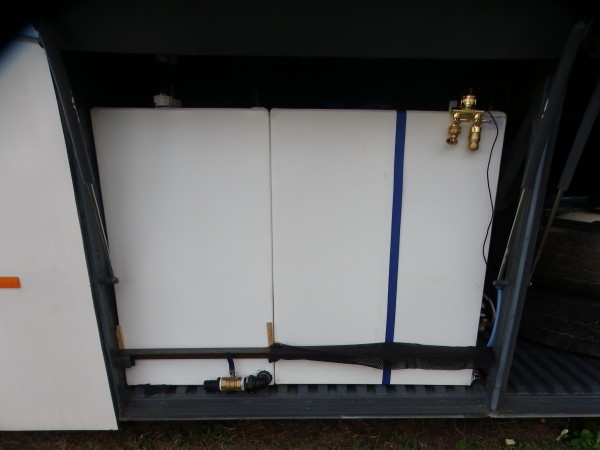
The left tank is the waste, complete with 32mm (1 1/4") waste drain.
The right tank is for the fresh water. The blue strap is around the tank so we can pull it out if we ever need to remove the tanks. They are very snug in there.
There is dual water in. We will use the B.E.S.T. filter to filter all the water going into the tank and if one is not enough we can add a second one.
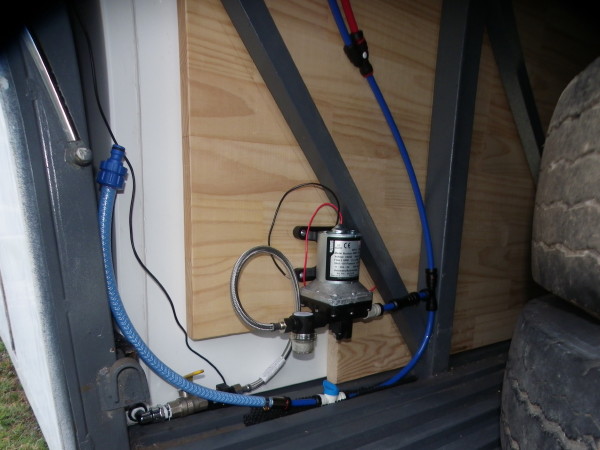
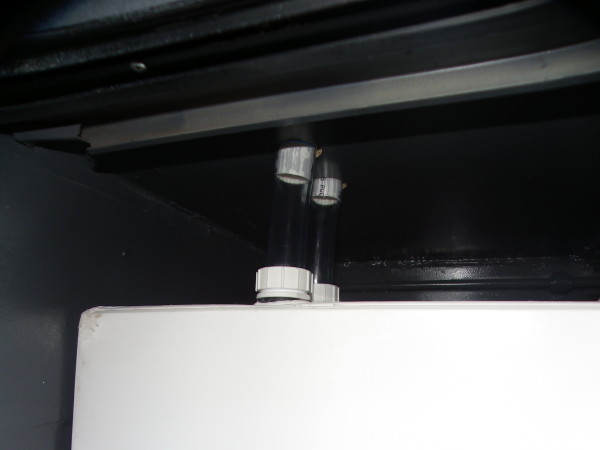
Here is the fresh water out. At the bottom left the water goes through an elbow, valve, flow meter, and then the pump. After the pump the fittings are the John Guest system.
Near the top of the picture you can see the splitter and the red pipe that will eventually go through a hot water system. For now we will have to do with cold only. But at least all the taps inside are connected to separate hot and cold pipes.

And working our way back, water connected to the kitchen tap. Here you can see the waterless trap under the sink. This way we have the most room in the cupboard.
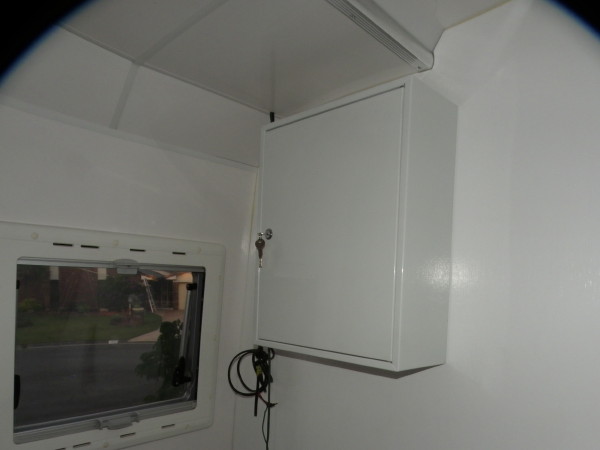
Now we are back in the bathroom to complete it. Lockable medicine cabinet. Peter started to mount the vanity and lay the plumbing for it.
Wednesday 10 August 2016
It was a public holiday today. So, more work on the motorhome.
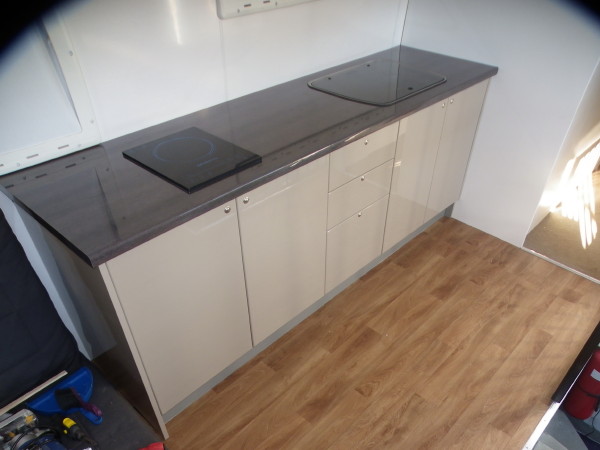
The stove and sinks are in. They still need to be connected.

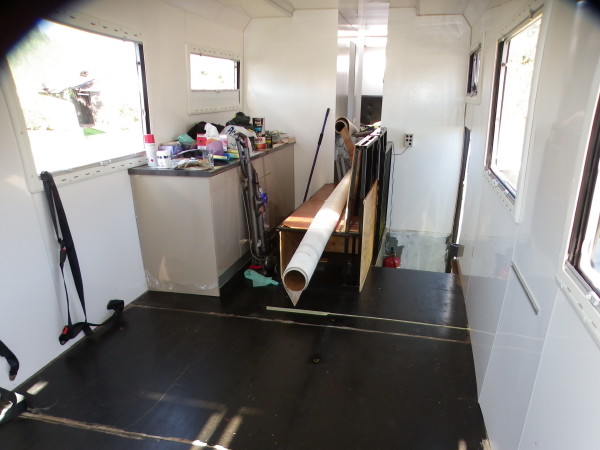
Cleared the bin area. Will need to some spare parts and tools back, but mainly it is to store our things needed for the trip. A long table and two benches go in here, too.
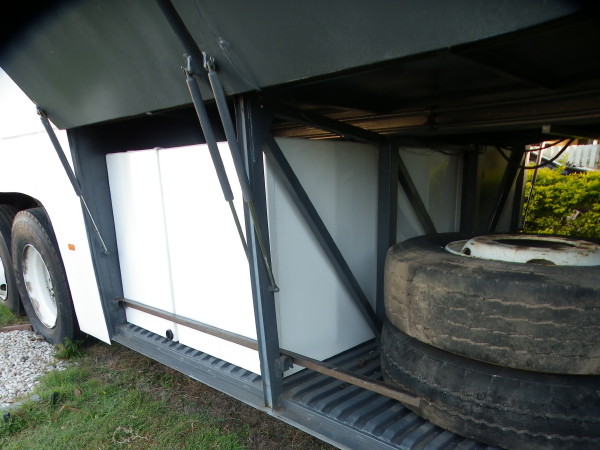
The water tanks.
Saturday 6 August 2016
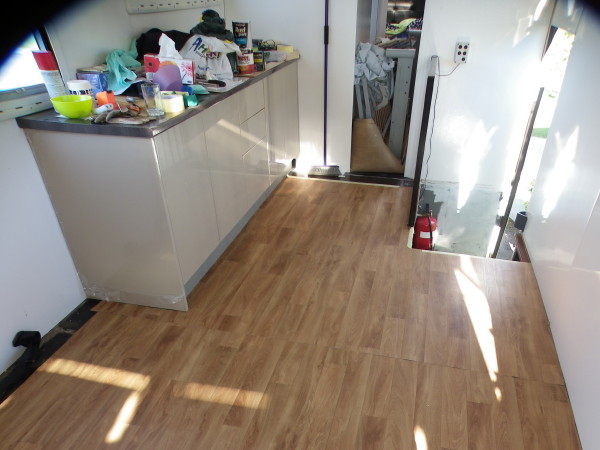
Peter continued working on the kitchen and added the finishing touches to the floor.
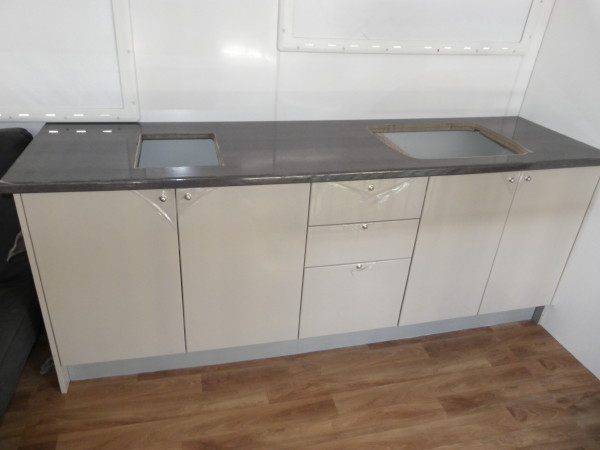
The push-lock knobs are fitted and the holes cut for the stove and sink.
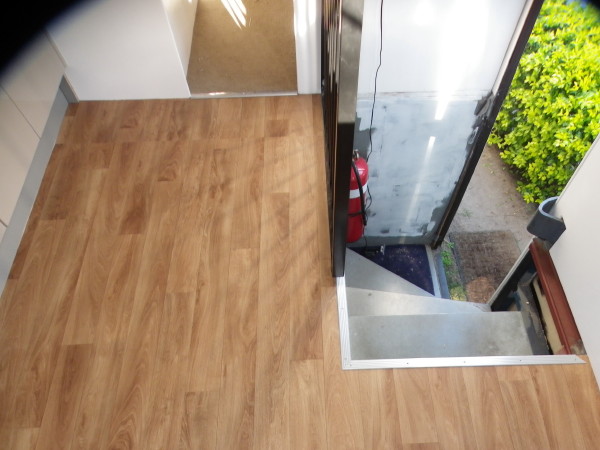
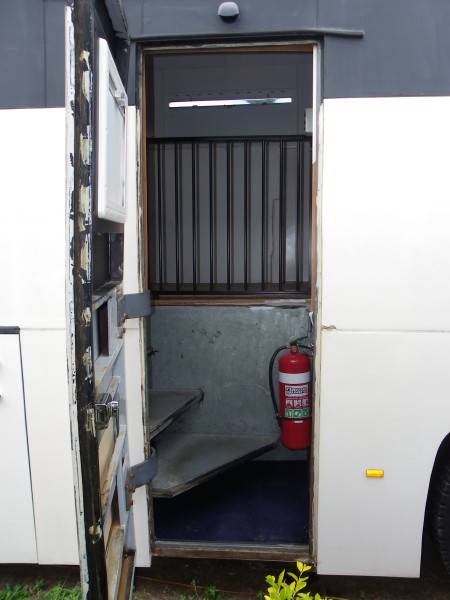
The entry (top) with the finishing touch of the trim. (And from vinyl to carpet)
The entry/stairs will have to wait till after the September trip.
The top of the stairs from a different angle.
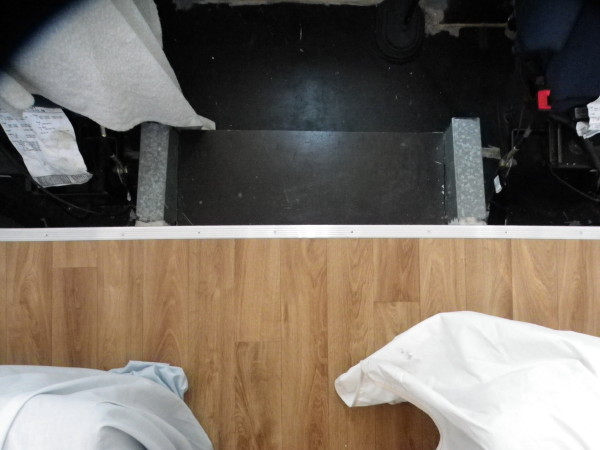
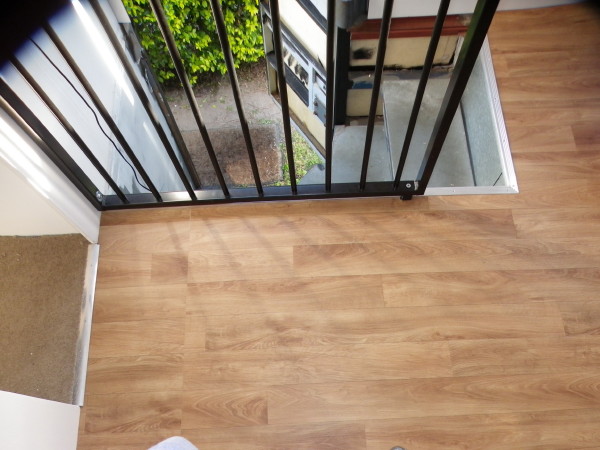
The front floor also has a trim edge. The rest will be left after the trip.
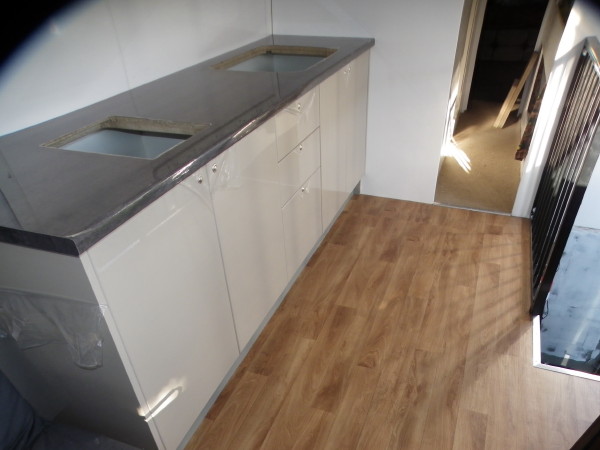
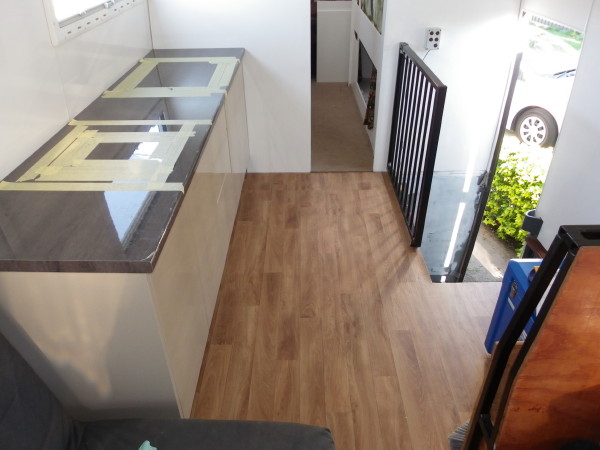
The kitchen area complete with the trim, etc...
Saturday 30 July 2016
Peter continued working on the vinyl and kitchen.
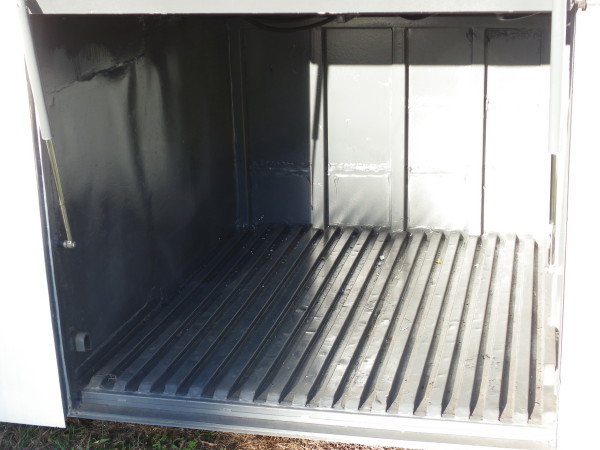
We ordered two custom made water tanks. One fresh water (900+ litres) and one grey water (~700 litres). These will go in here.
Today Peter finished laying the vinyl and marked-out where to cut the bench-top for the sink and stove (That will be done next weekend).

This floor covering gives an entire different look than the plain black floor that was before.
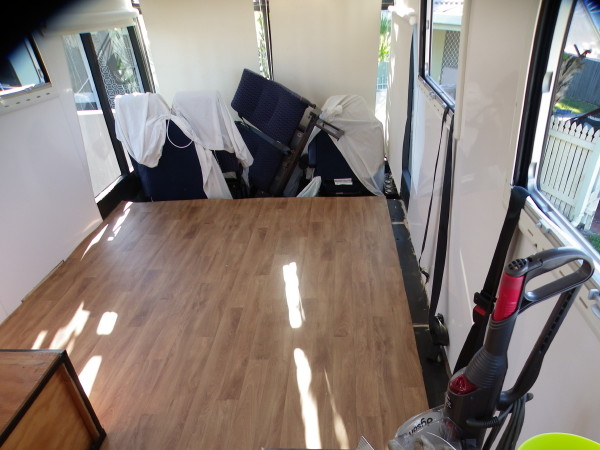
The view from the front.
Saturday 23 July 2016
Peter worked laying some vinyl.
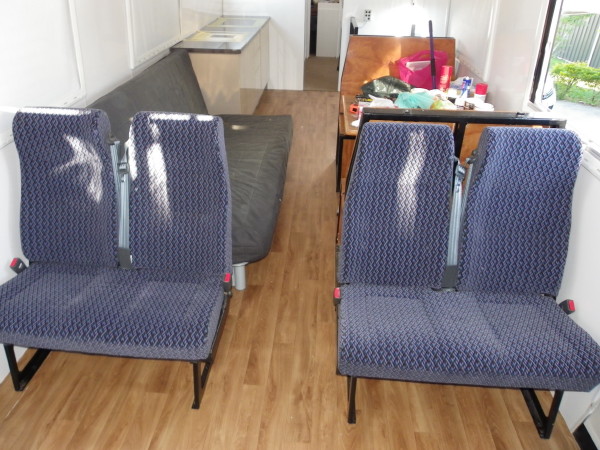
All the seats removed.
It is quite empty looking.
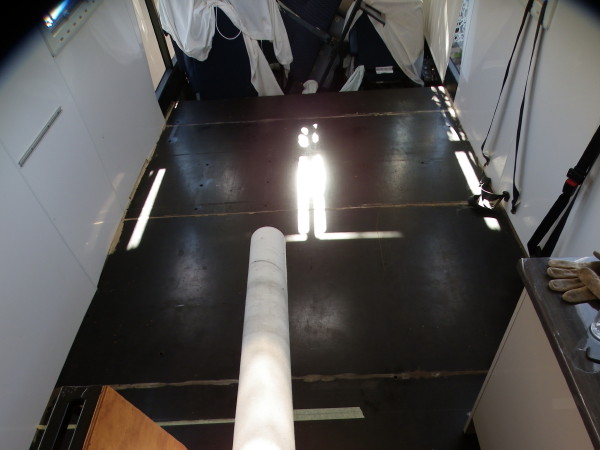
Vinyl down...
And in the kitchen area, too.
Saturday 16 July 2016
Peter continued working on the kitchen.
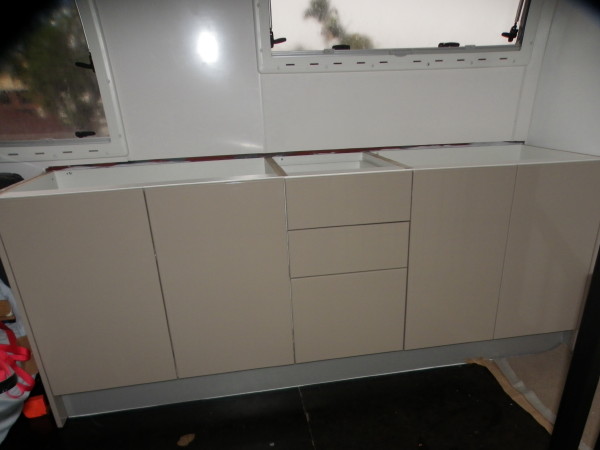
Today Peter fitted the end panels, drawer panels, and doors.
Saturday 9 July 2016
Peter continued working on the kitchen.
Peter removed the white wall panelling. This way the kitchen cabinets can be glued directly to the metal frame.
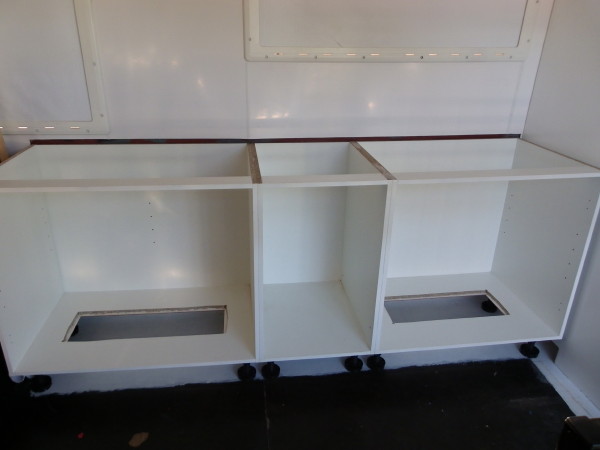
All the cabinets are glued and screwed together. Peter made an access hole in the bottom of the two end cabinets because the kickboard will be glued in and cannot be removed. This way there is still access to the pipes, hoses, etc... that are underneath the cabinets.
Almost time for the glue. There is a 15mm thick piece of ply glued to the bottom back of the cabinets because the wall is curved. In fact the motorhome is its widest at floor level.
The cabinets are glued and screwed along the top and bottom. We do not want this to move in case of an accident.

Likewise the kickboard is glued top and bottom to add even more strength.
Saturday 25 June 2016
Peter stopped working on the bathroom for a bit and is focusing on the kitchen.
We bought a flat-pack kitchen from Bunnings and started to assemble it.

The first cabinet!
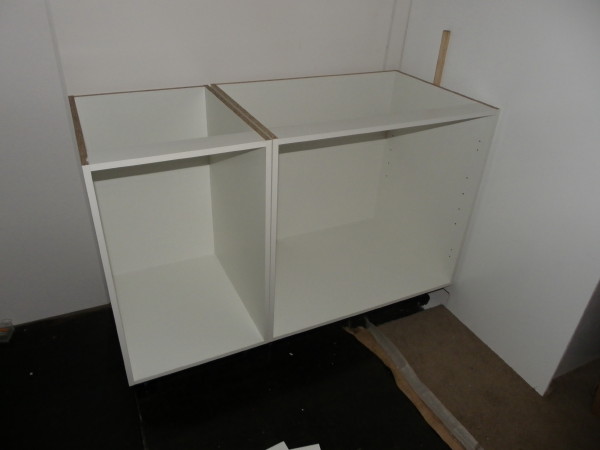
And the set of draws.
Saturday 11 June 2016
Peter worked on the floor of the bathroom.
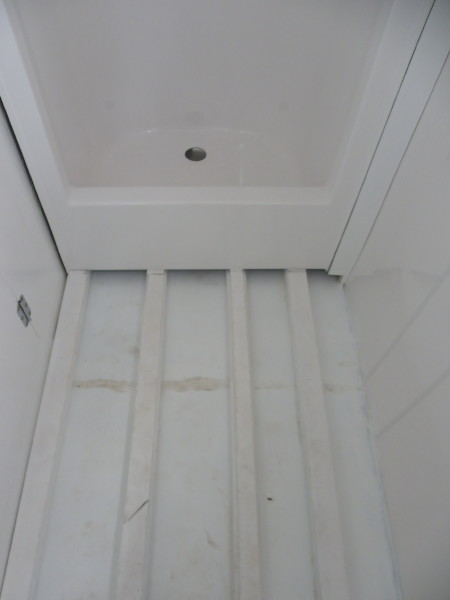
The plumbing can go underneath the shower. We will also use these 'channels' to pipe hot air from the, yet to be purchased and installed, hot water/hot air diesel heater.
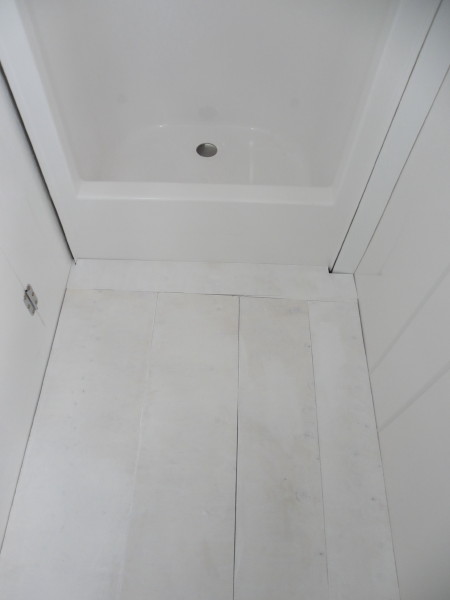
And with the floorboards laid down.
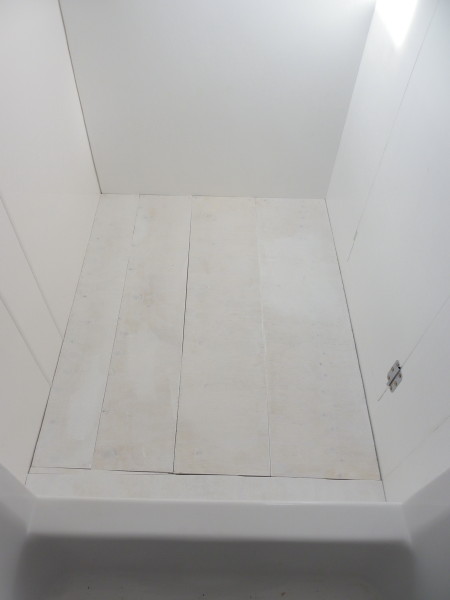
Ready for the vinyl floor covering.
Saturday 21 May 2016
Peter continued to make the walls for the bathroom.
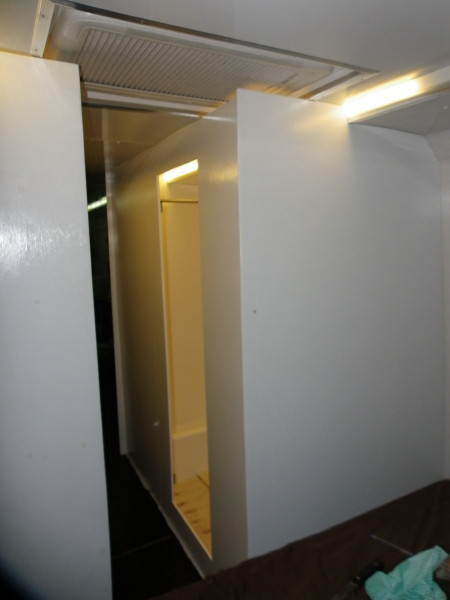
The shower cubical is now glued into place and the walls are up.
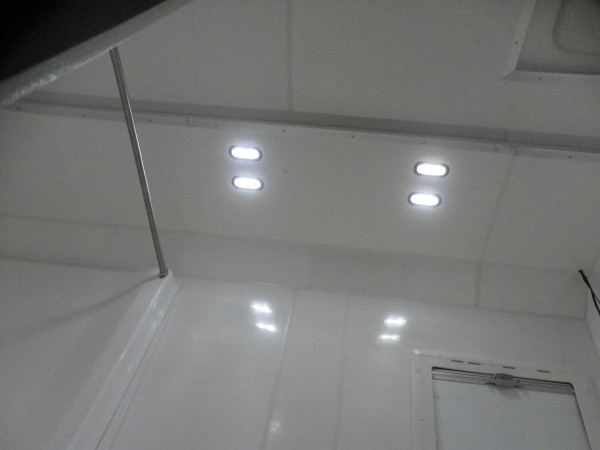
And lights installed in the bathroom.
Lots of light coming from the bathroom. It was night when these photos were taken.

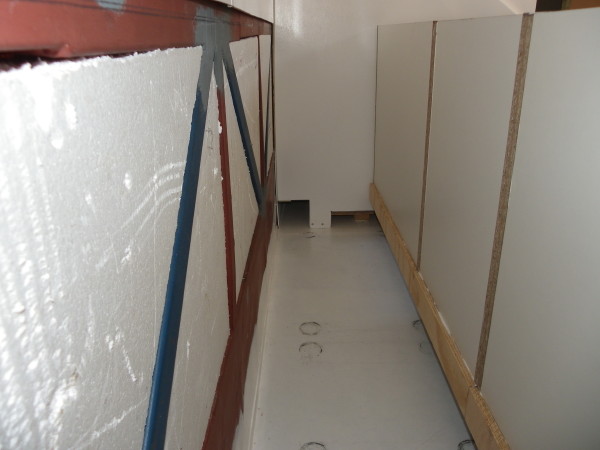
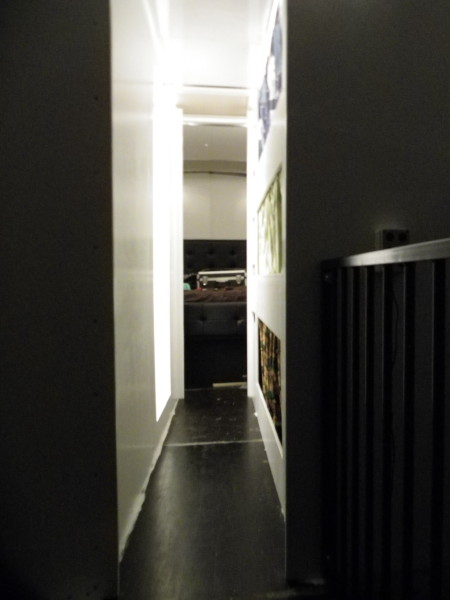
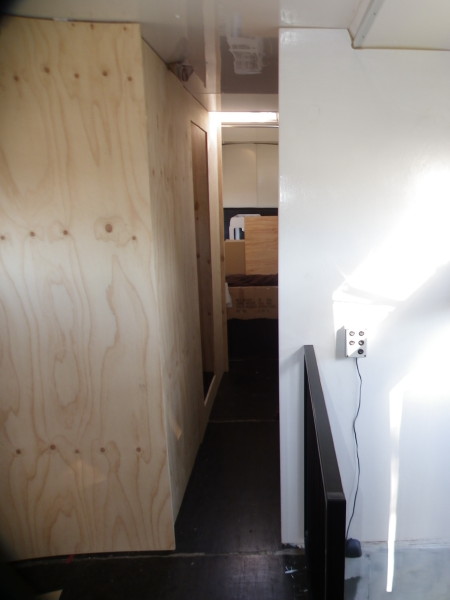
View of the isle. Notice the holes at the bottom left? These are for the plumbing and will be hidden by the kitchen cupboards.
The view from the master bedroom.
From inside the bathroom.
Saturday 30 April 2016
Peter continued to make the walls for the bathroom.
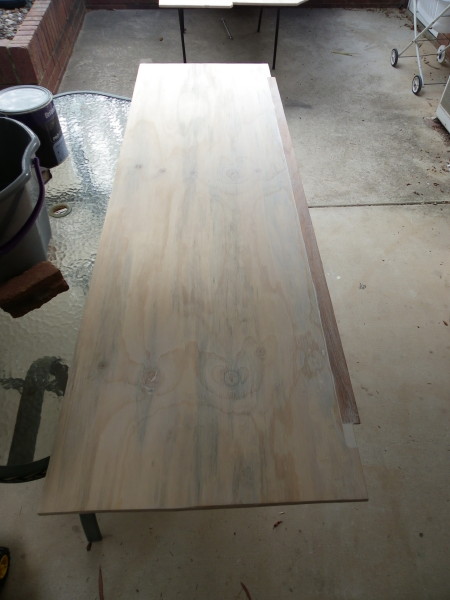
The walls are all finished - painted.
The walls are ready for the undercoat.
The door is ready, too.
The door with two undercoats applied.
Saturday 2 April 2016
Peter continued to make the walls for the bathroom.
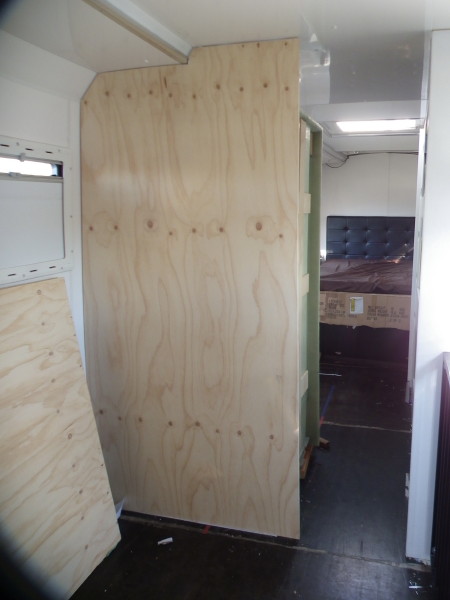
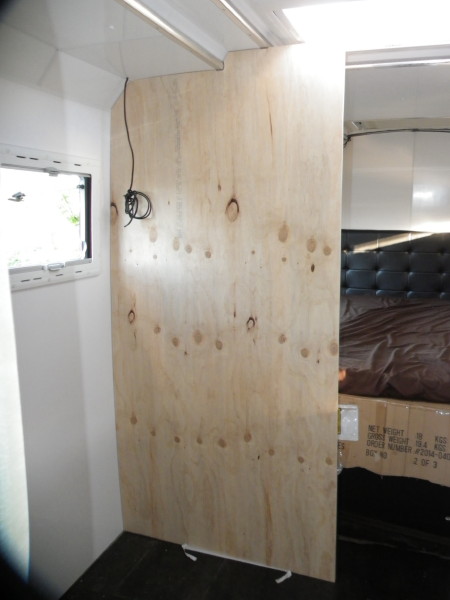
This wall is almost done. Just need to make a hole for the plumbing.
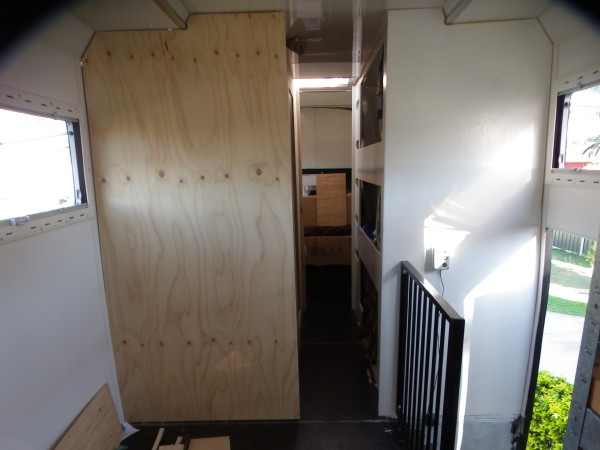
Here is the bathroom wall complete with door opening.
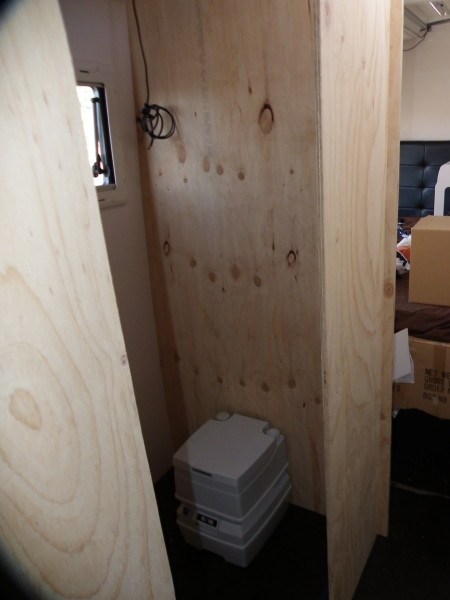
This is where the toilet goes. The walls are up for a test fit before they are removed and sanded/painted.
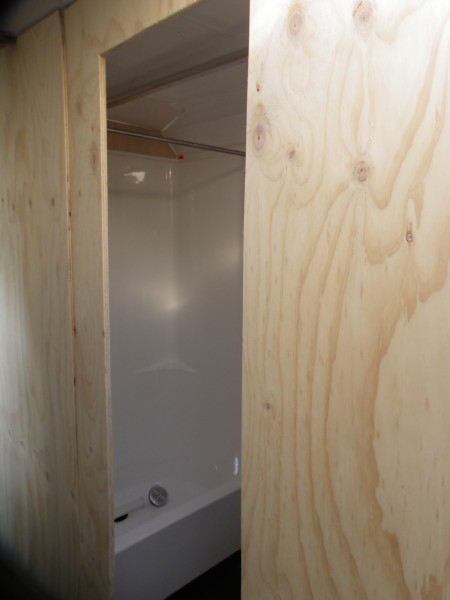
And the shower is on the other side of the bathroom.
Tuesday 29 March 2016
It was the Easter long weekend, Peter made some of the walls for the bathroom.
The wall between kitchen and bathroom. Peter made a template first from 3mm craft wood. The motorhome wall is curved.
The wall between the bathroom and main bedroom. The wall has a slightly different curve. Again Peter made a template.
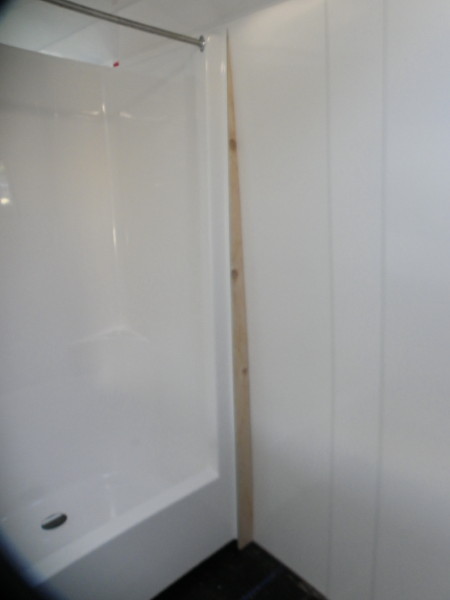
Because the wall is curved and the shower cubical isn't, we need a small 'wall'.
Saturday 19 March 2016
Exciting times! Today we collected our shower cubical.
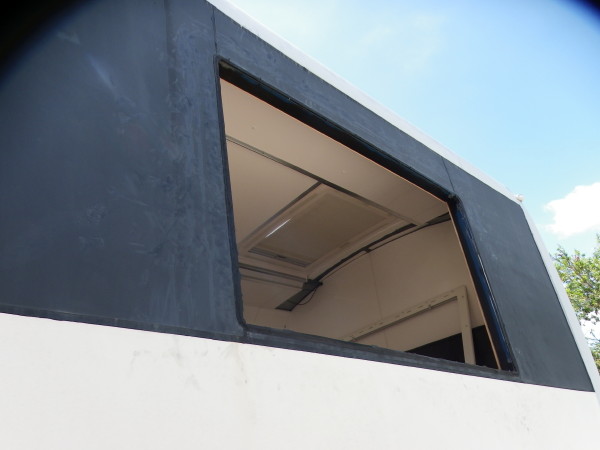
First Peter needed to remove the window so it could be moved inside.
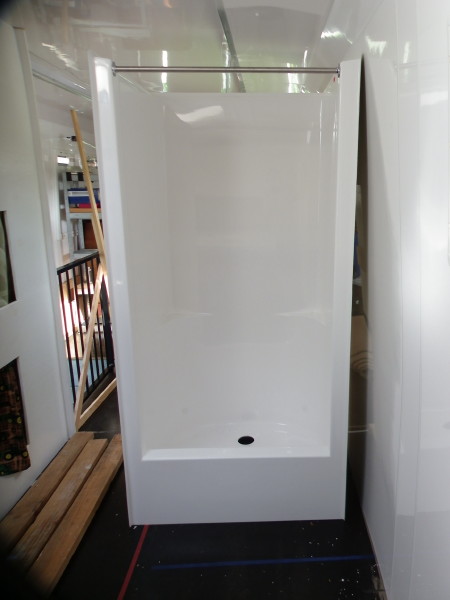
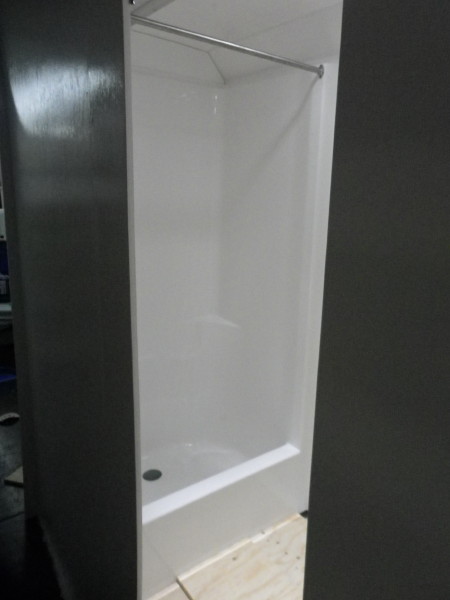
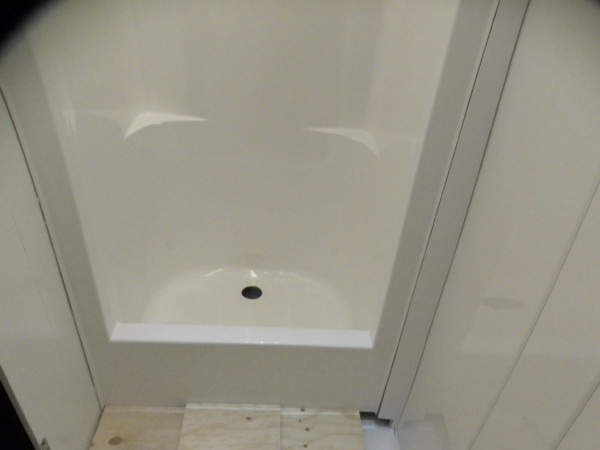
And here is it. One piece fibreglass which is easy to clean and no need to worry about leaks. Even came with a shower curtain rod. The drain is at the back and has two soap holders, too. It has a step into the shower so even if we are parked on uneven ground, water will not splash out.
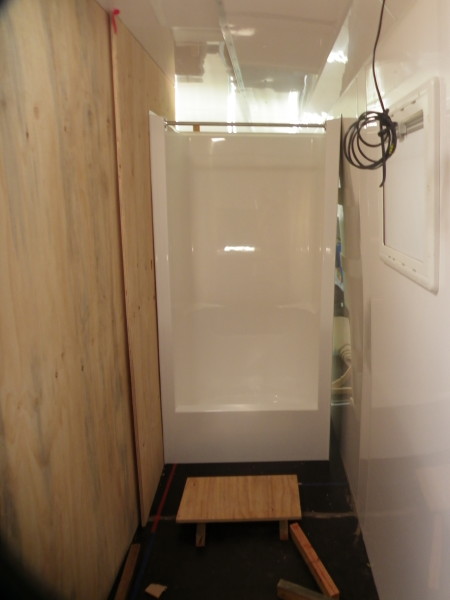
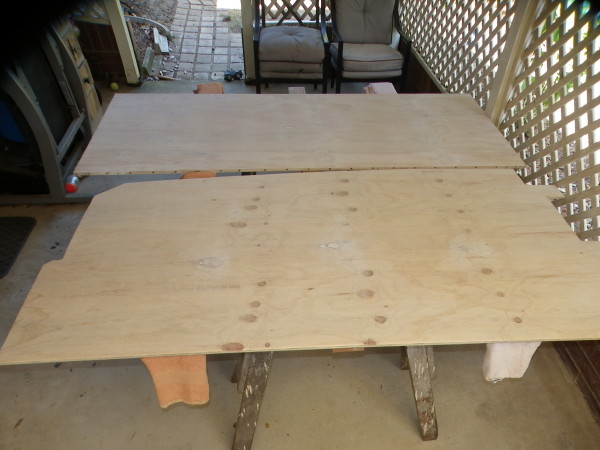
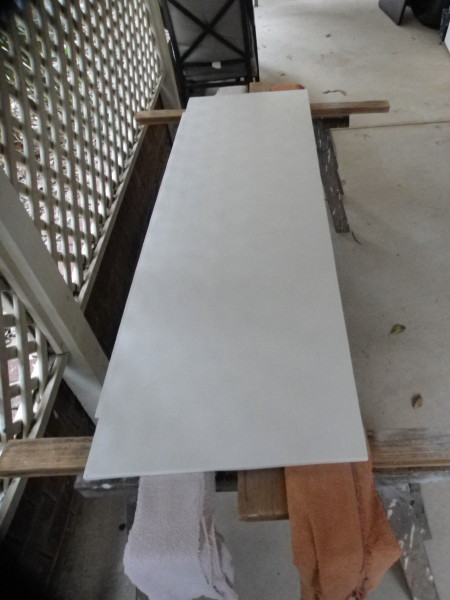
Peter then cut two sheets to the correct height. One of them will have a cut-out for the door. The cut-out Peter will make into a bi-fold door.
In this photo you can clearly that the motorhome wall is curved. (See the gap at the right of this photo)
With the 900mm wide shower and the extra 50mm lost due to the curved motorhome wall, the aisle is a little narrow. Still wide enough to walk through.
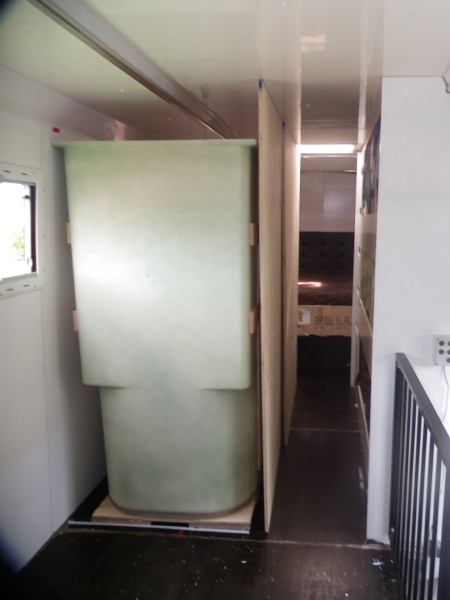
Here is the back of the shower. The base of the shower cubical is very sturdy.
At this stage we cannot afford the taps or shower head. We will make the bathroom wall removable so this can be added later.
Sunday 21 February 2016
We had a break from updating this website, sorry.
Now we need to make a bathroom in the motorhome.
We are planning on to move into the motorhome to do a four week trip during the term 3 school holidays and the first week or two of the fourth school term.
In the mean time, we have made curtains for the kids bunks and started planning the bathroom.
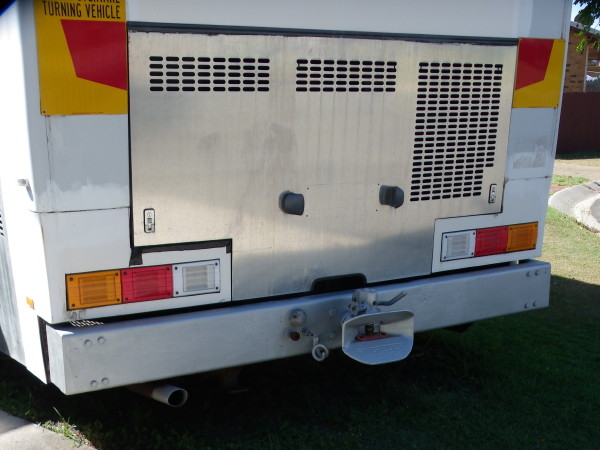
Peter cleaned and painted the front and rear bumpers.
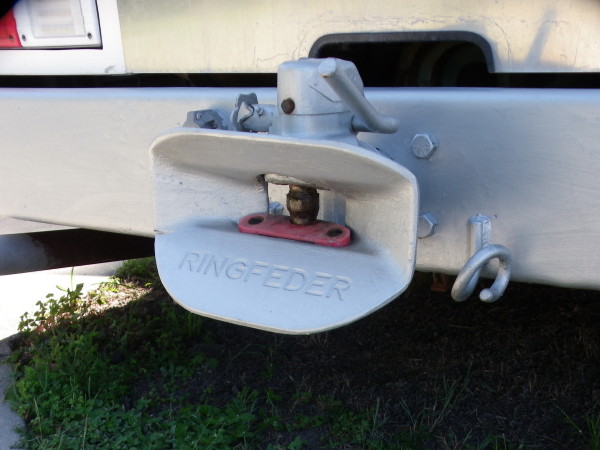
Peter cleaned the Ringfeeder, too. Cleaned out the old grease and paint. He then painted and re-greased it.

The kids picked the curtains they wanted. They liked to have a 'sky' at the top, 'leaves' in the middle, and 'dirt' at the bottom. Our youngest son loves tractors and when he saw the John Deer tractor print he wanted it. Each have their own 'bedroom'.
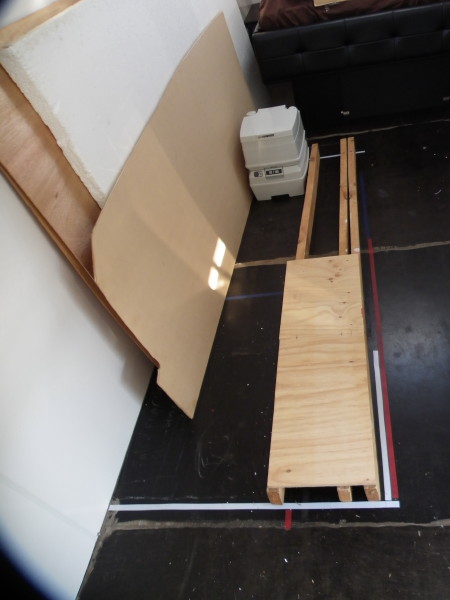
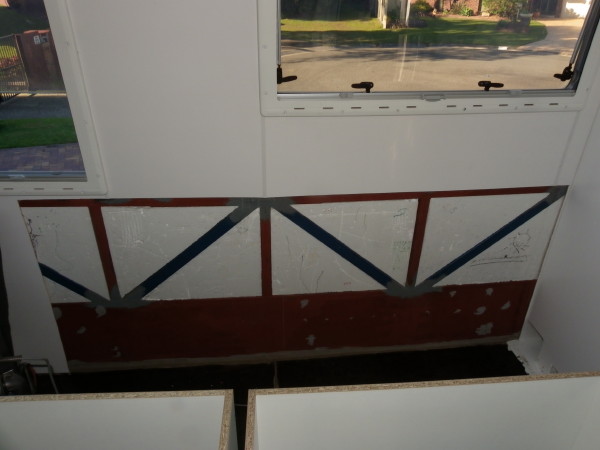
Here is the 'floor' plan of the bathroom. White tape shows walls, red tape doors, and the blue tape (difficult to see here) the bathroom opening. And well you see where the toilet goes. :-)
The bathroom will have a false floor to allow room for plumbing. We cannot cut through the floor here as this is directly over the rear wheels.
Friday 2 October 2015
Finished the bunk beds and cleaned the motorhome. Sorry did not publish these photos sooner.
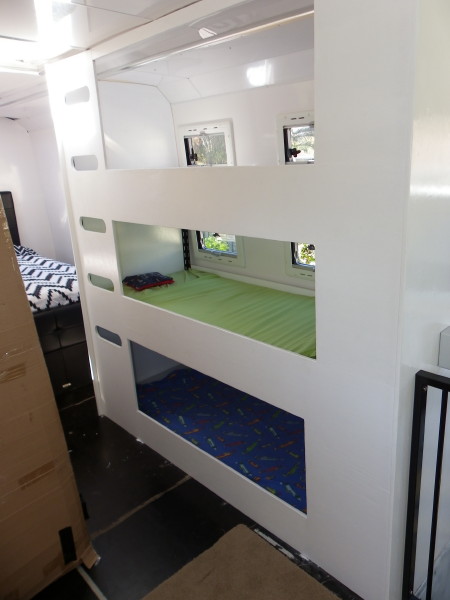
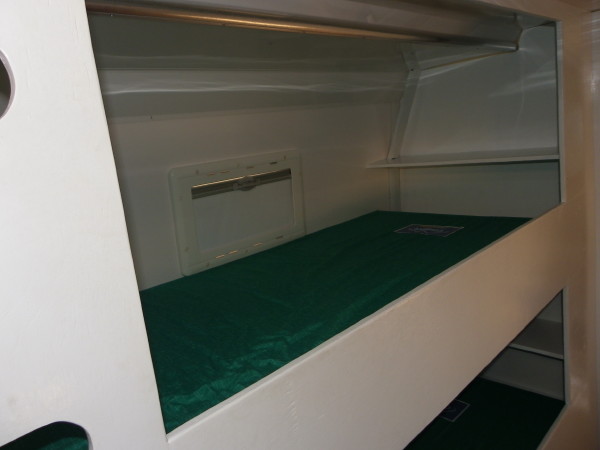
The bunk beds with mattresses. The kids love them. Also strong enough and roomy enough for me to sleep.
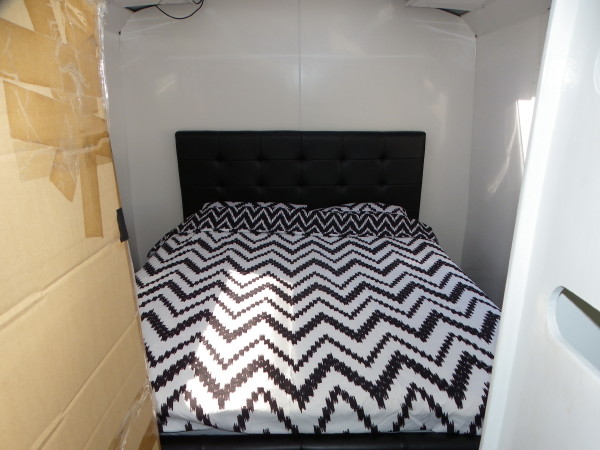
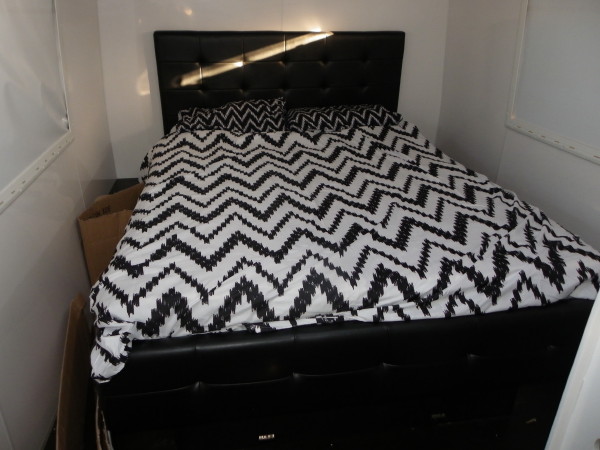
The master bed all neat and tidy with a 'matching' bedspread. :-)

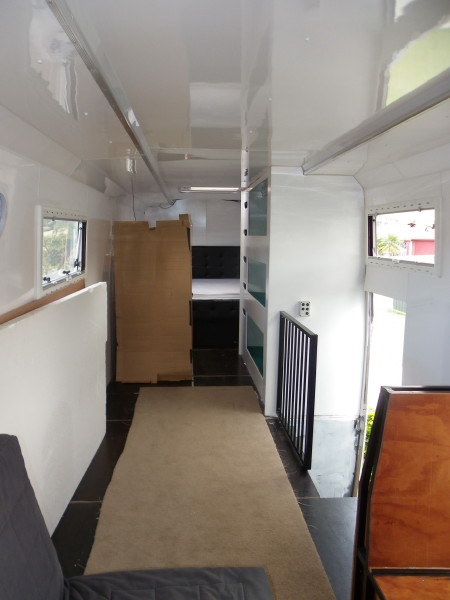
Looking towards the bedroom area. Oh, the cardboard on the left is a mock-up bathroom.
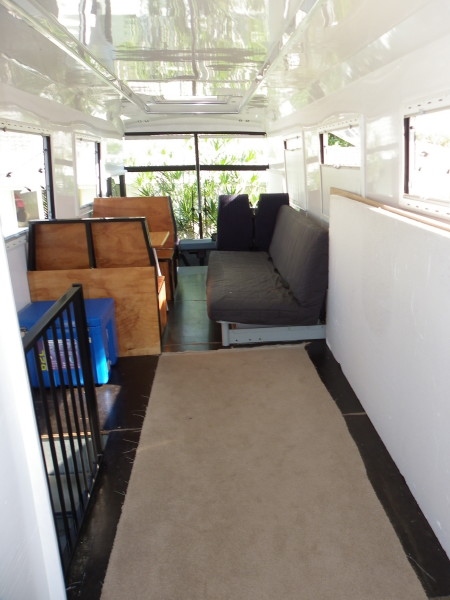
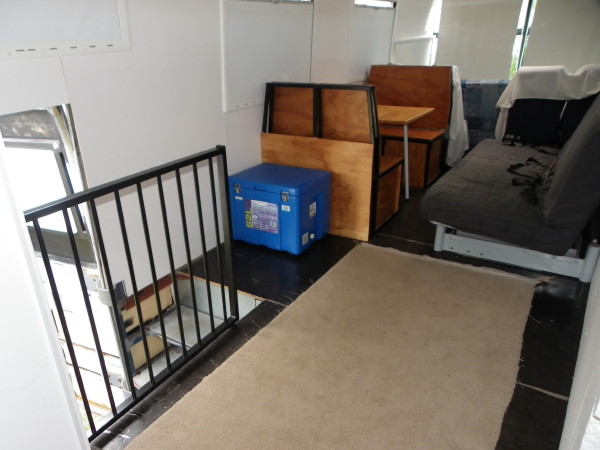
Looking from the bedroom area to the front.

Looking from front most point in the motorhome towards the back.
Saturday 26 September 2015
We bought mattresses and put up the guardrail
The mattresses were on special - time to get them.

Got them for all three bunks.
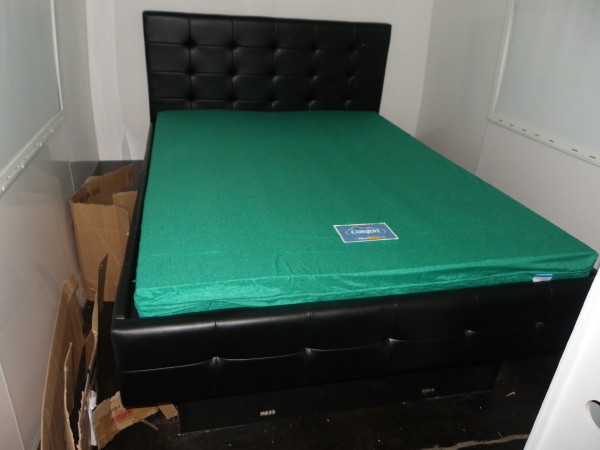
And the queen bed.
We bought the sheet set earlier.
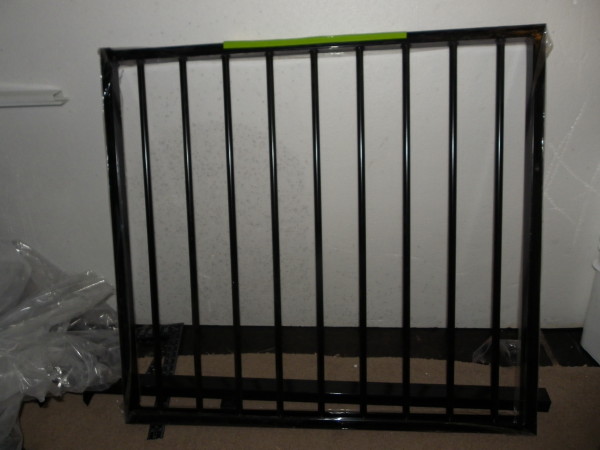
This is the guardrail.
Peter fitted it and then cleaned the motorhome.
Peter made a temporary room for the toilet.
Soon we are all having a sleep in the motorhome. The kids are most excited about this.
Looking from the outside in.
Saturday 22 August 2015
Peter continued working on the kids bunk beds.

Time to connect the light switches.

The cables are labelled.
All done.
The switches located so that we can used them from inside and the entry.
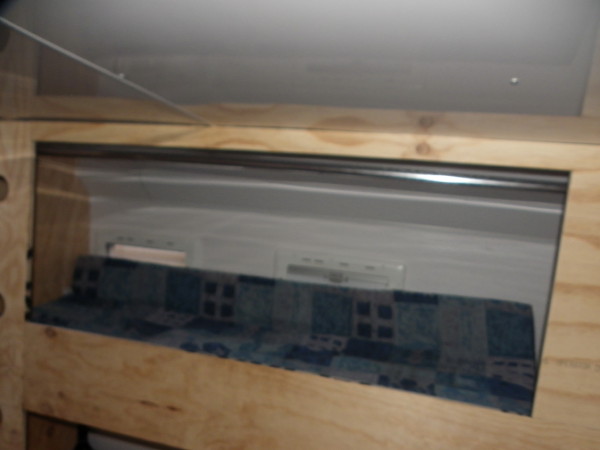
The cables are hidden in the top bunk.
This still needs a couple of brackets to finish.
The kids bunks are done. Just need some curtains and mattresses.
Next, cleaning the motorhome and making the guard rail.
Saturday 15 August 2015
Peter continued working on the kids bunk beds.
All the walls are up.
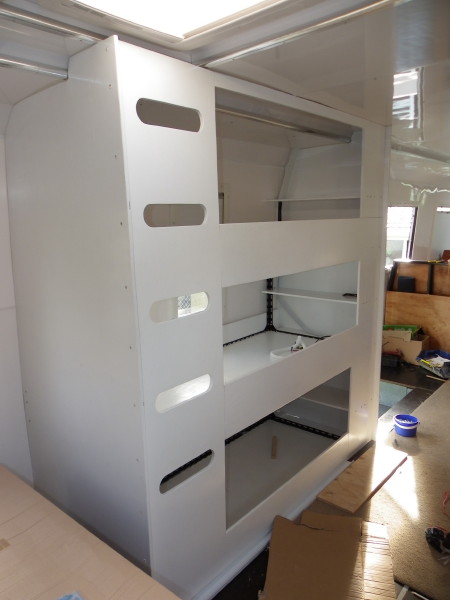
Almost done.
Next the light switches.
Saturday 8 August 2015
Peter continued working on the kids bunk beds.
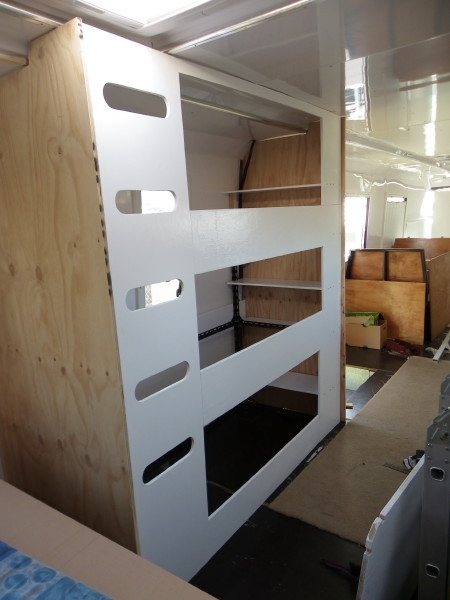
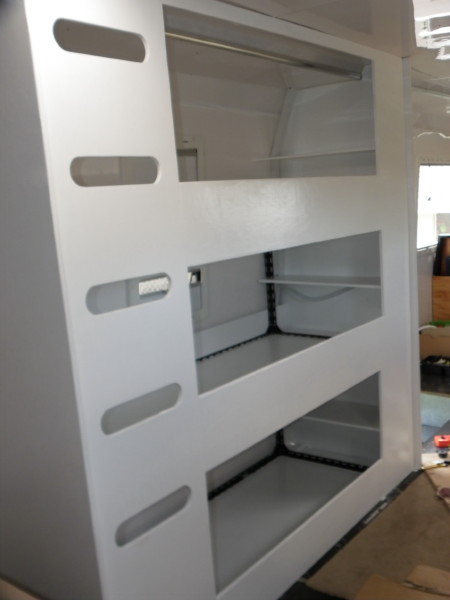
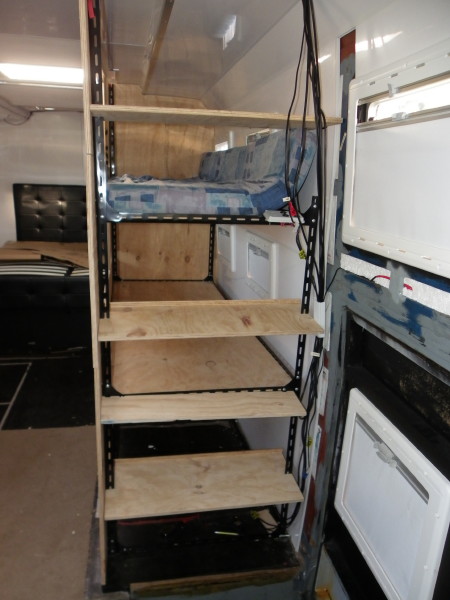
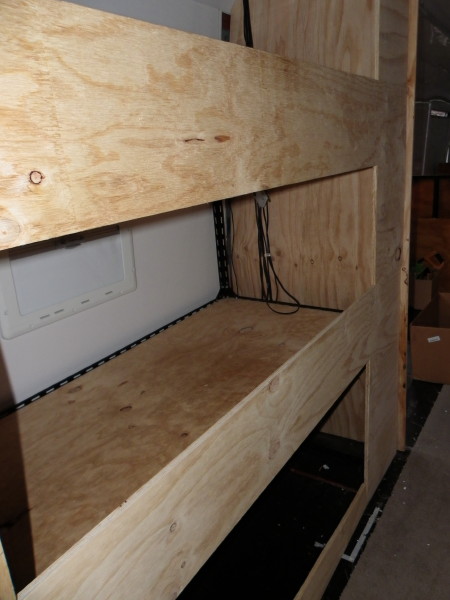
The kids bunk beds are taking shape.
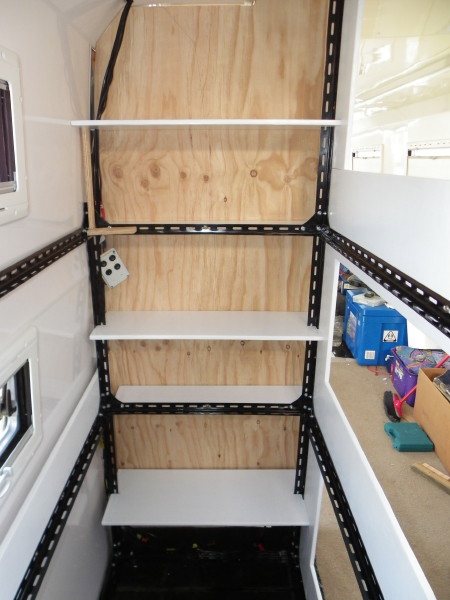
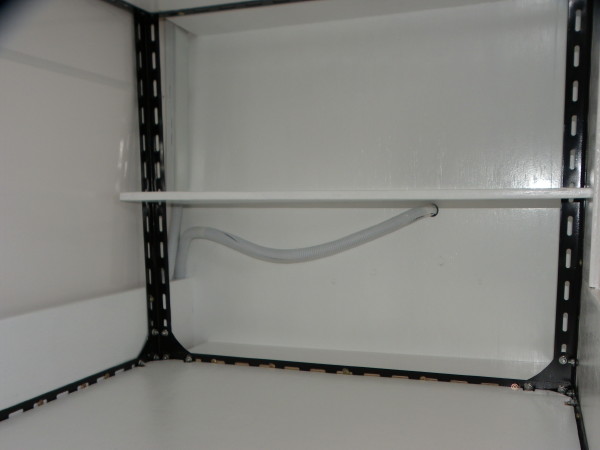
The bookshelves
The end wall panels are painted.
Saturday 1 August 2015
Peter continued working on the kids bunk beds.
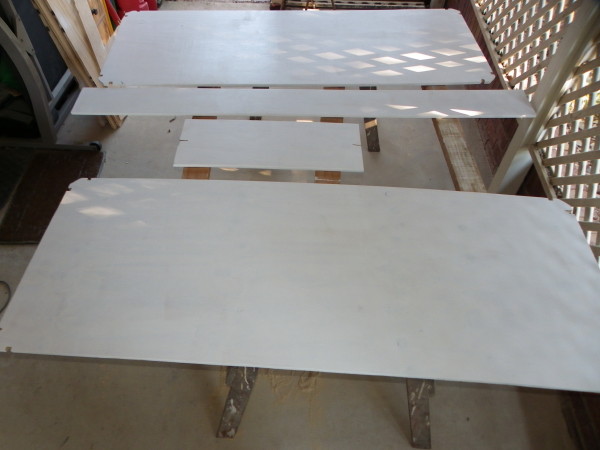
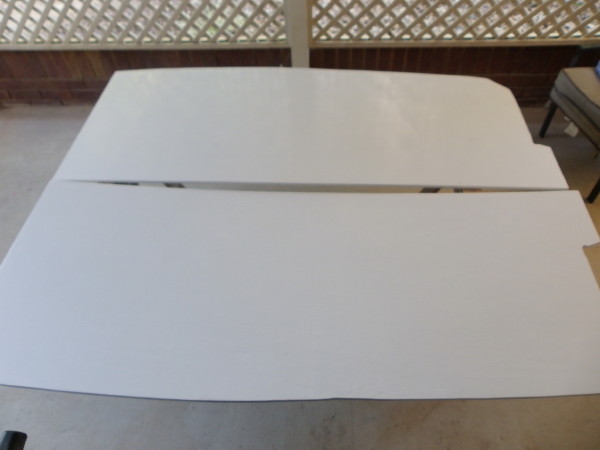
The first boards painted (with undercoat).
And a glossy top coat.
Saturday 25 July 2015
Peter continued working on the kids bunk beds.
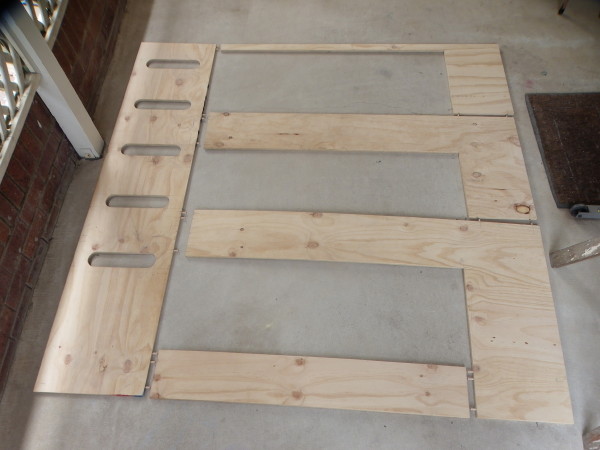
The pieces with dowel pins to locate them together.
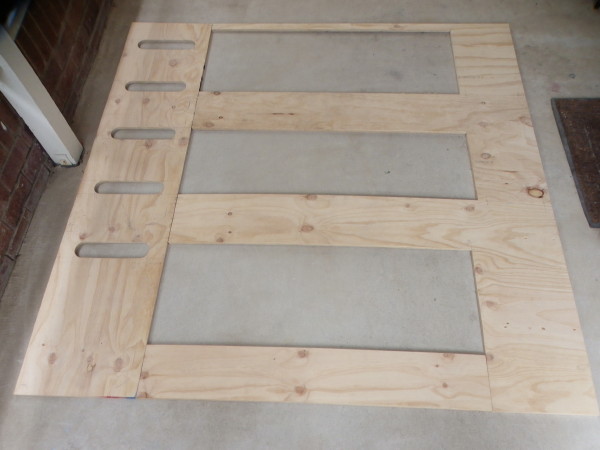
The pieces test-fitted together.
Time to sand and paint...
Saturday 18 July 2015
Peter continued working on the kids bunk beds.
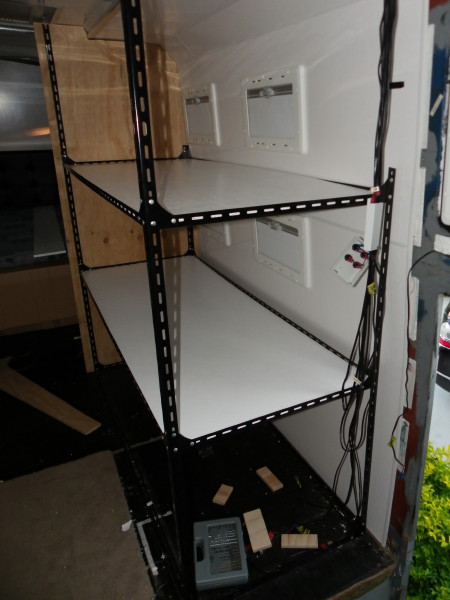
Each bunk has a little extension and a book shelf.
Saturday 11 July 2015
Peter continued working on the kids bunk beds.
Trying with a full sized mattress (900x1880mm) instead of 760x1880mm.
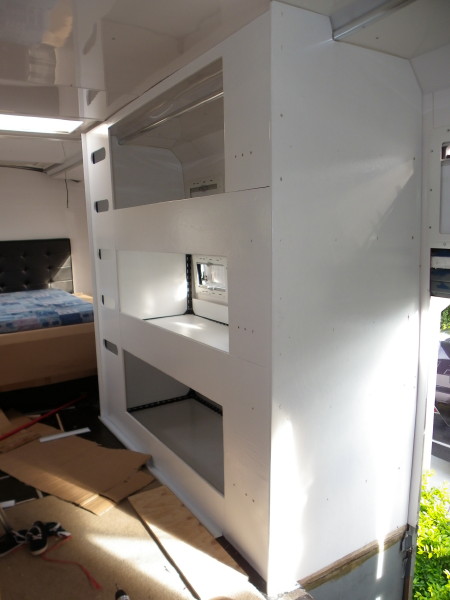
The middle bunk.

The kid's bunks from main bedroom.
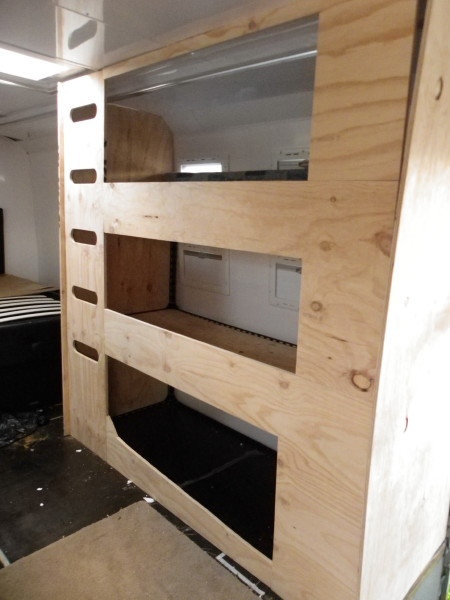
The bunks are just test-fitted together, just to make sure it all works as a whole.
Next Peter will disassemble and sand and paint the pieces.