July 2012
This month Peter continued to work on the ceiling.
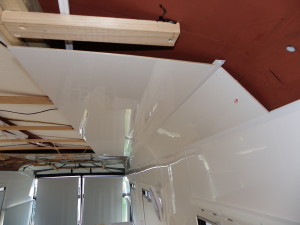
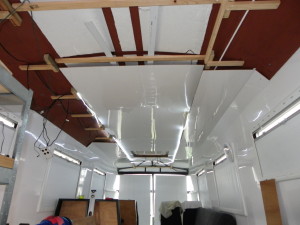
 Two lengths are up on the side ceiling part (driver side)
and one length of the centre ceiling.
Two lengths are up on the side ceiling part (driver side)
and one length of the centre ceiling.
|
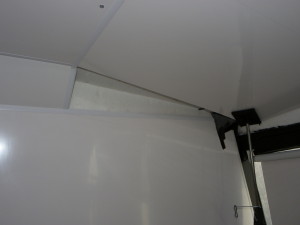
Between the wall and ceiling is a 140mm high corner piece. |
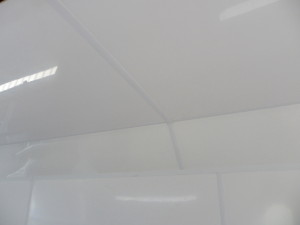 This how all the pieces join. It is difficult to see
without 3D, but this is the wall, corner piece and ceiling.
This how all the pieces join. It is difficult to see
without 3D, but this is the wall, corner piece and ceiling.
|
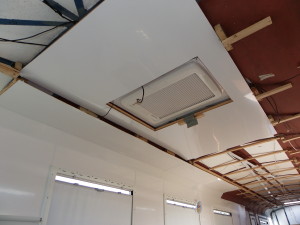
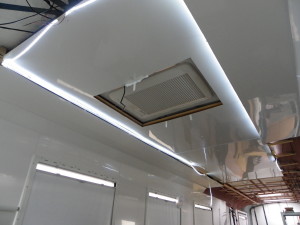
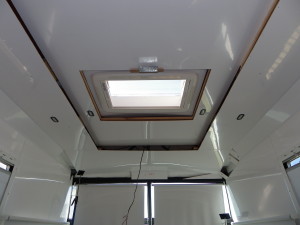
More sheets are up. |
The sheets are 2.4m long. Notice the recessed roof hatch. |
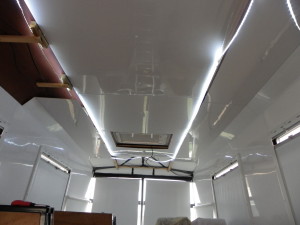
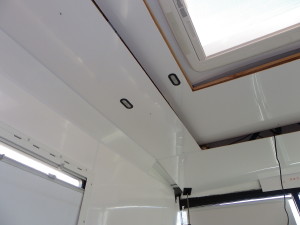
 This is what the house lights look like. Still requires
the diffuser and trim to finish this area. Also requires
trim around the roof hatch.
This is what the house lights look like. Still requires
the diffuser and trim to finish this area. Also requires
trim around the roof hatch.
|
August 2012
No photos this month
September 2012
This month Peter continued work on the ceiling.
At first Peter made the front side panel level with the rest, but as you can see this interferes with the corner beams. It does not look nice. |
 However, with the front ceiling panel in place for a test
fit, Peter noticed that he could continue the 140mm corner
panel. This will hide that beam nicely. Much better. :-)
However, with the front ceiling panel in place for a test
fit, Peter noticed that he could continue the 140mm corner
panel. This will hide that beam nicely. Much better. :-)
|
 Peter fitted some 'map reading' lights for the 2x2 seat row.
|
 The front ceiling is taking shape. Very slowly, but surely.
|

|
Here is a close-up of how the outside lights are mounted. The angle is slightly angled away from the wall. The lights are angled such that the centre line of the lights are about 1.5 to 2 meters away from the motorhome at ground level. |